
Most older PCs and MacBooks have mechanical hard drives [HDD], a metal disk is quickly spun, and a head reads the information. This system is prone to slow performance and errors with age.
Solid State Drives [SSD] have many benefits. No moving parts means that they can start up and load programs within seconds, use very little battery, do not need defragmenting and are less susceptible to errors from getting knocked about. An older device with an SSD will generally load it’s OS faster than a new device with a traditional, mechanical HDD.
Most Windows laptops, as well as many MacBooks, have HDDs that are easily accessible and able to be swapped for an SSD.
In most cases, this process can be used to update an older Windows 7 and Windows 8 devices to Windows 10, using the existing Windows 7 key. This process is also the safest option to refresh an older device with a boot sector corruption, allowing a safe route to recover the user data from the drive.
Make sure you have a recent copy of Windows 10 via the official Media Creation Tool, or a copy of the MacOS as mentioned here.
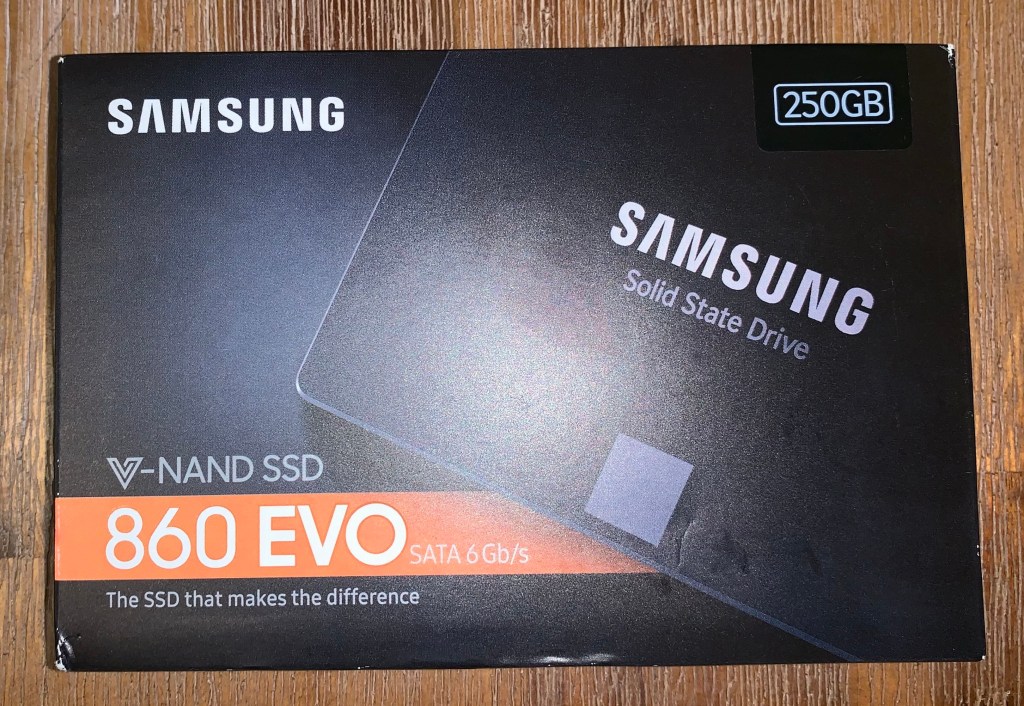
1- Choose your SSD
SSDs are available as 2.5″ replacements, as well as the newer M.2 and mSATA styles. Umart offer excellent deals on Samsung 860 EVO or Crucial MX500 drives, both of which are reliable, affordable choices. Both also work with Windows or Apple MacBooks.
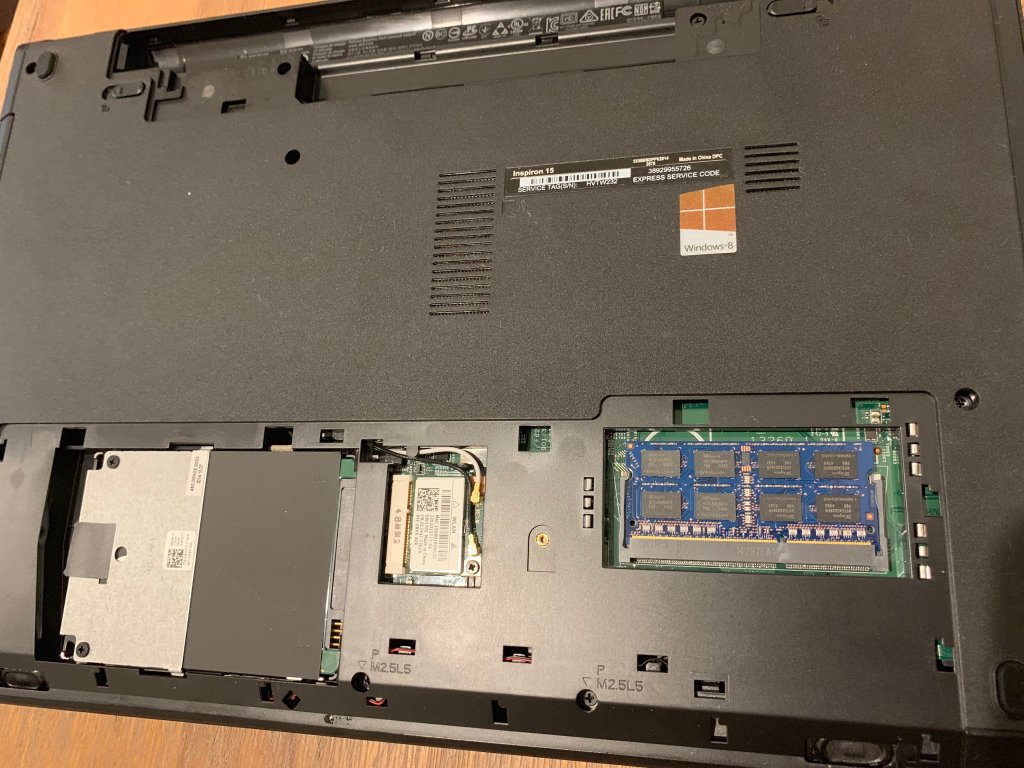
2- Remove the old HDD
Start by shutting down the device, and remove the battery if it’s accessible. Most devices allow easy access to the RAM and the HDD either from a little hatch, or removing the base. Check out youtube or ifixit for specific instructions for your particular device.
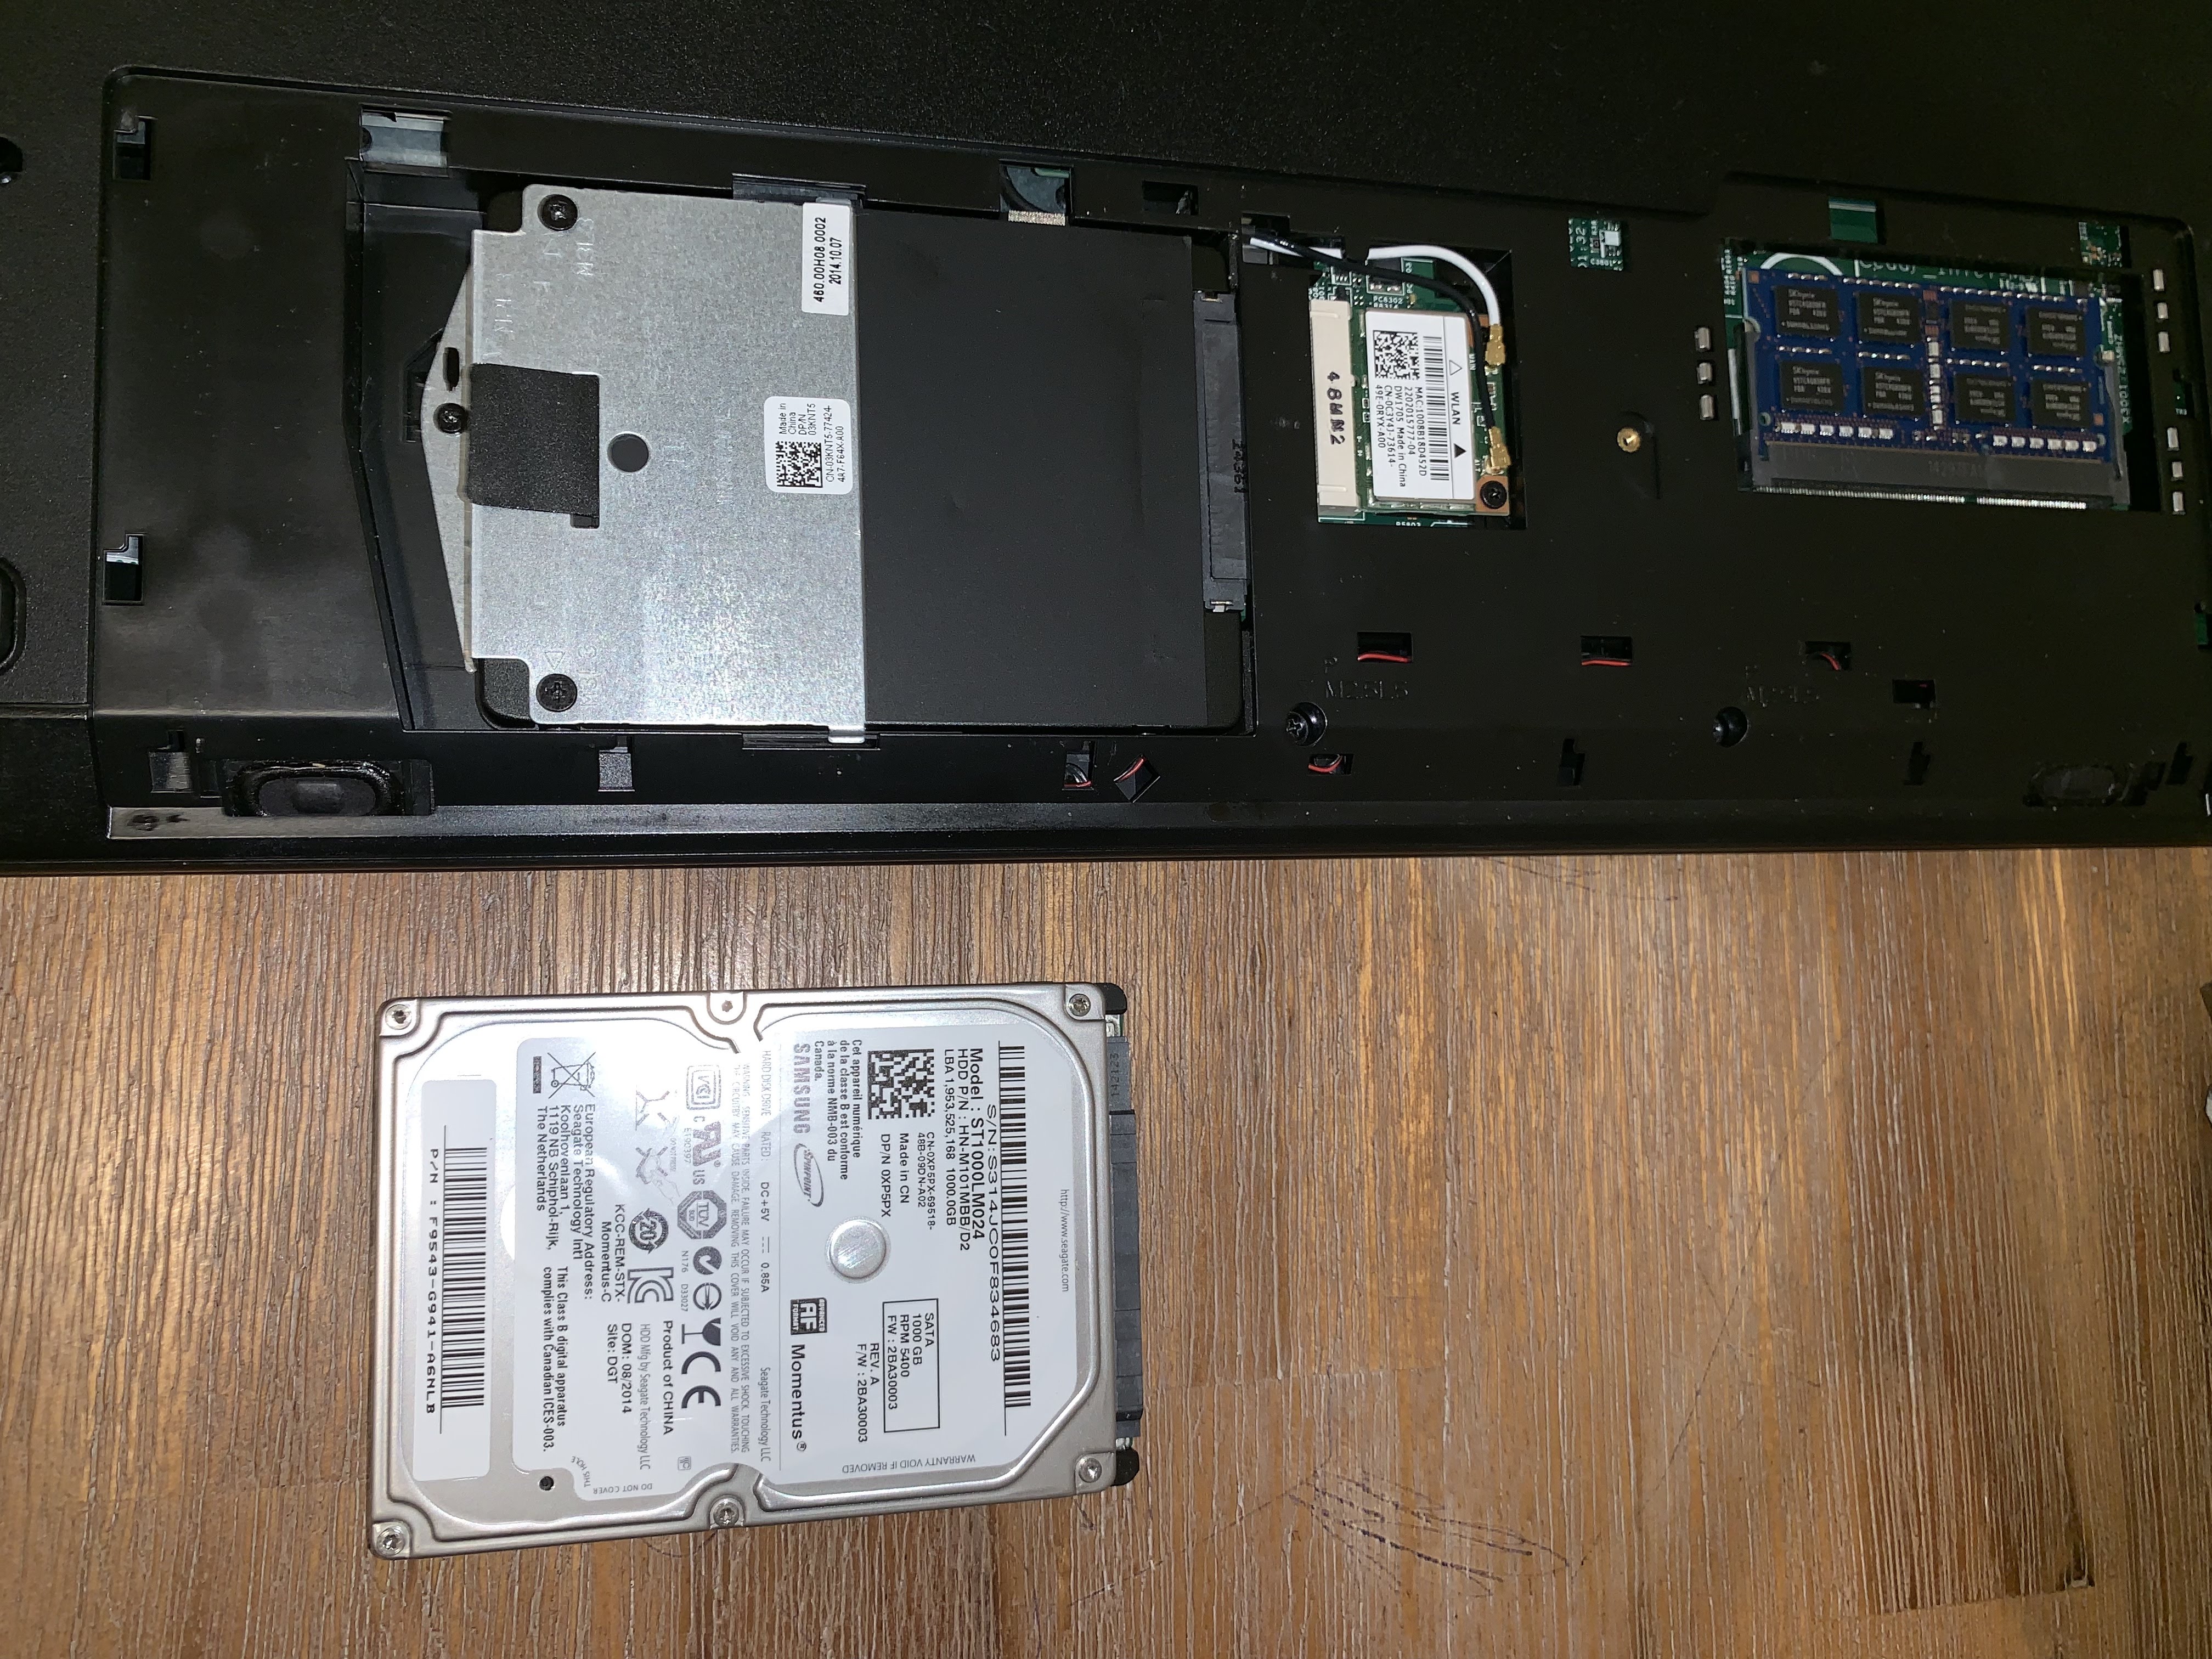
3- Install the new SSD
Most devices have a frame or mounting bracket for the HDD, remove this and fit it to the new SSD drive. This allows the new SSD to be mounted exactly the same as the old HDD in the device.

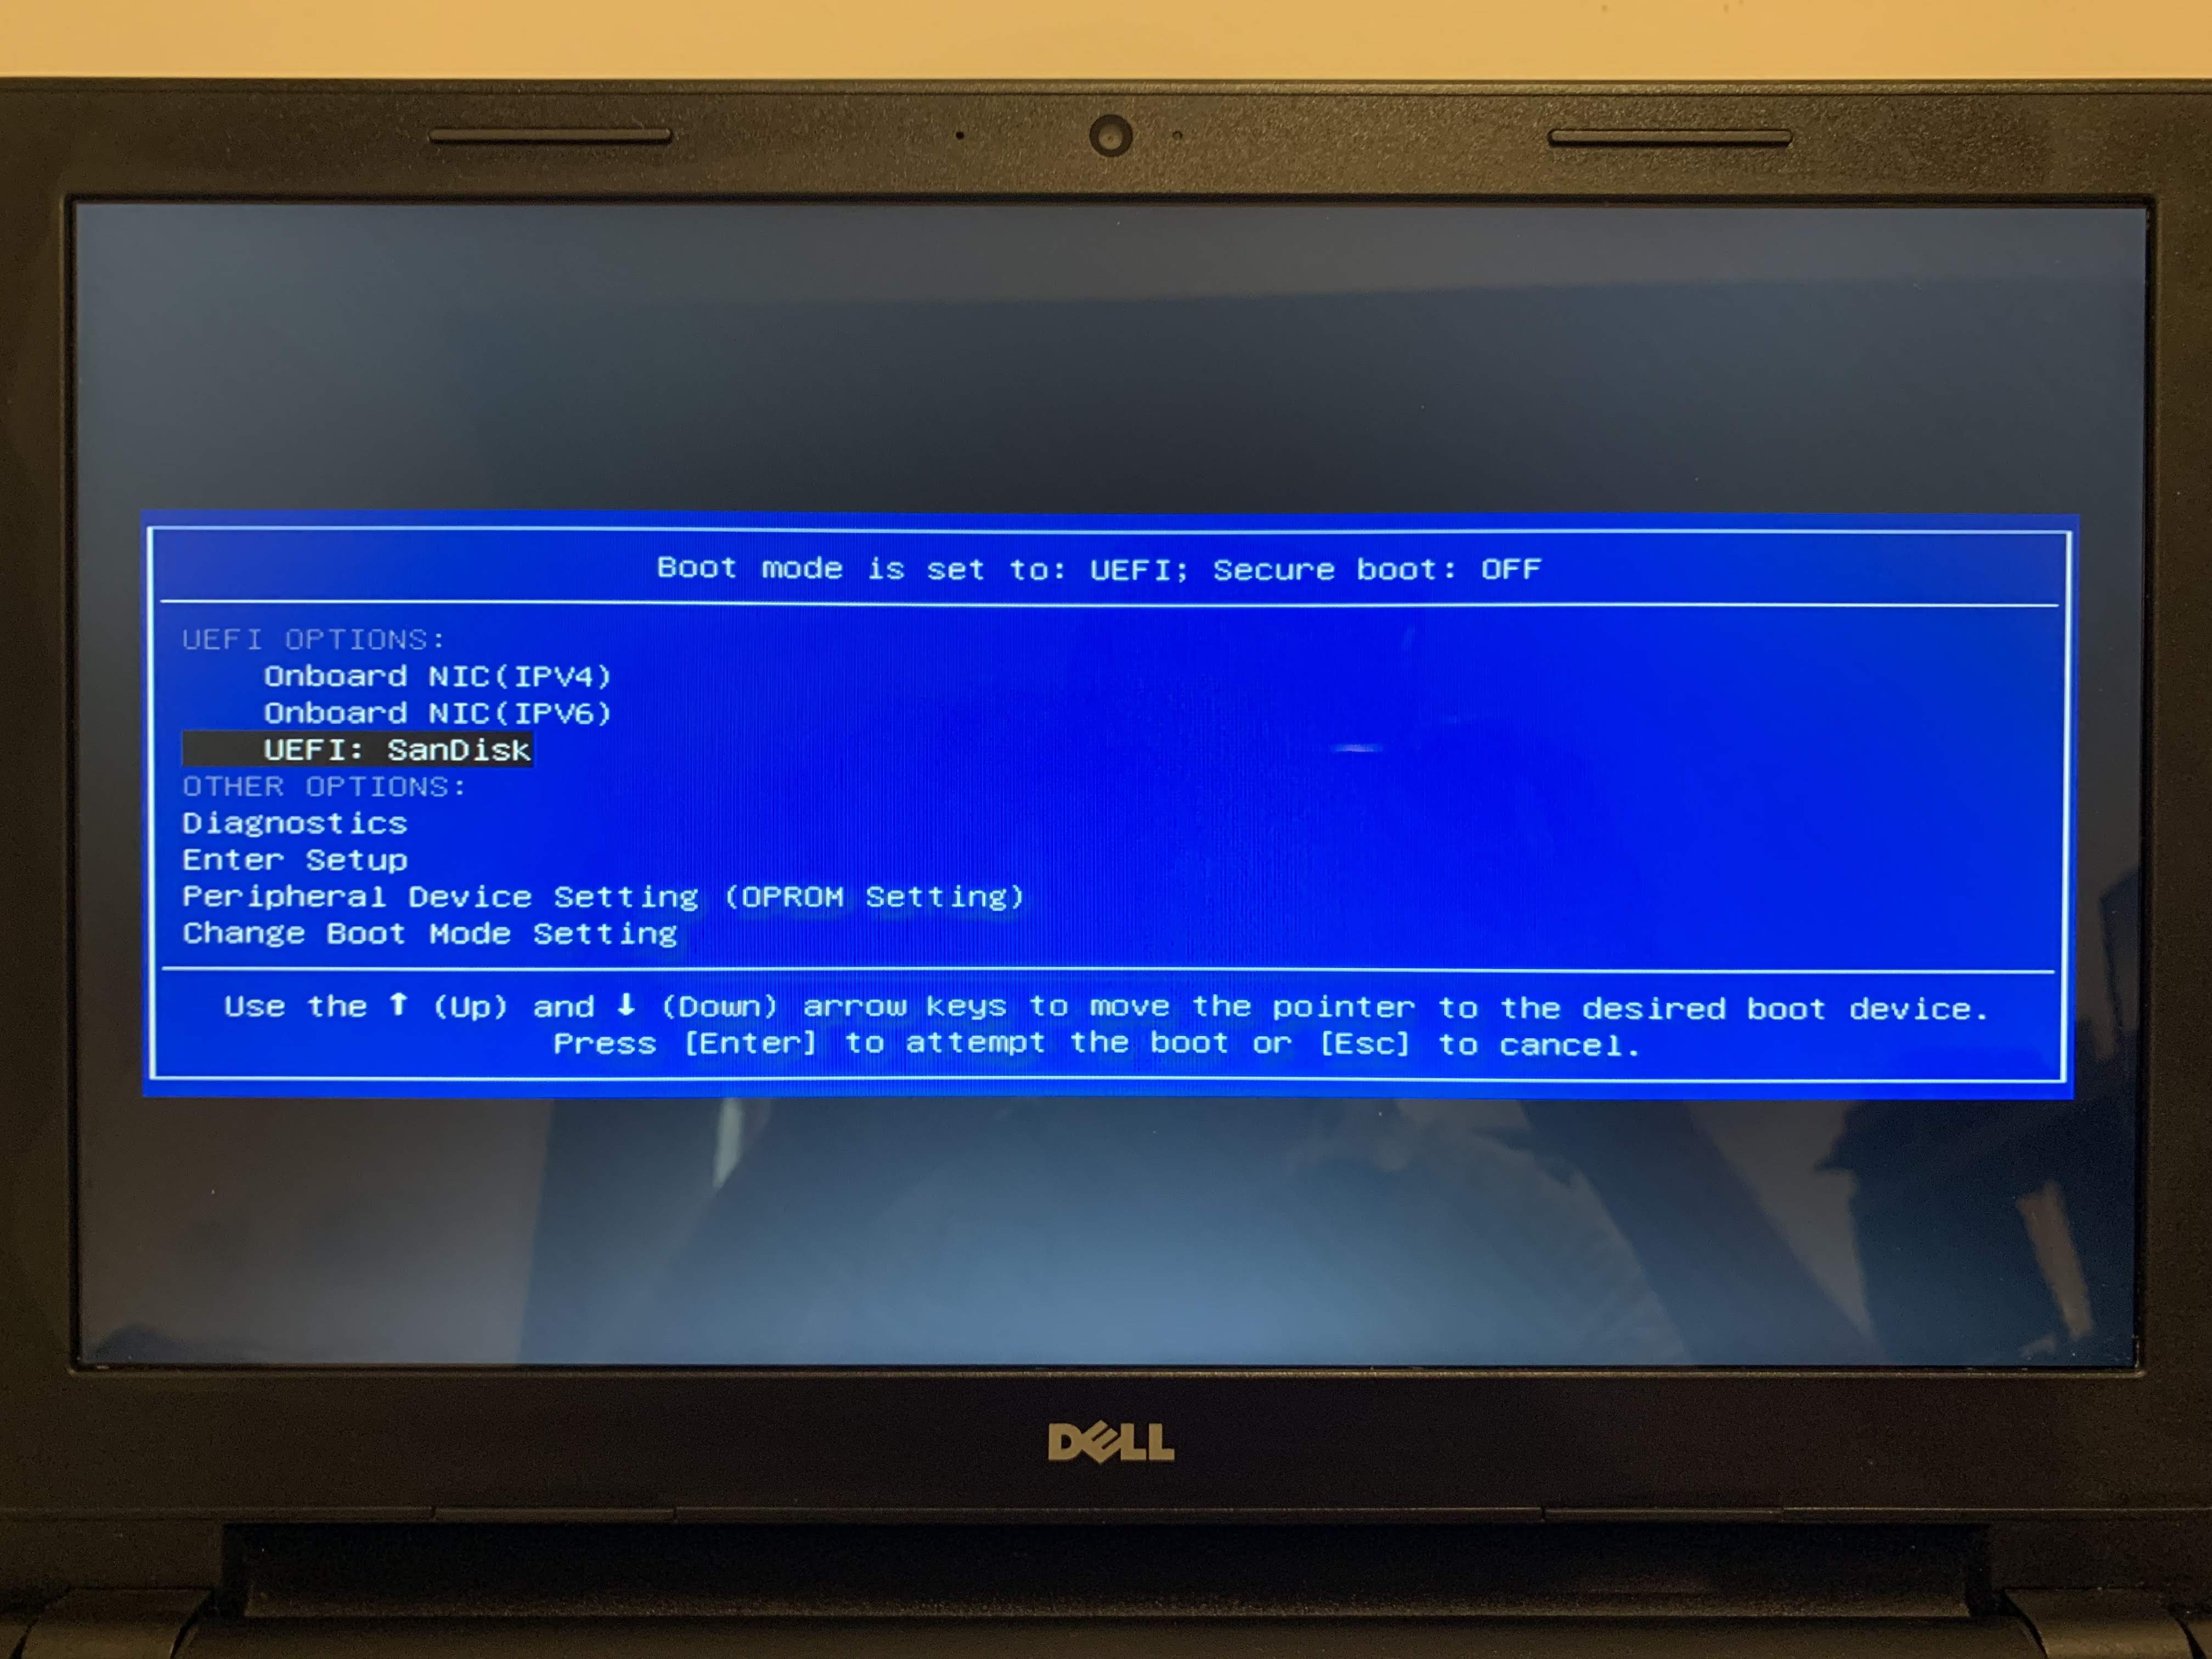
3- Boot device from OS installation USB
Once the SSD is installed and the device reassembled, insert your bootable USB and power on the device. Each device will have a specific key to boot from the USB. The Dell pictured here utilised F12.
Most modern devices are 64Bit, choose this option to install and and proceed to the Windows 10 set up screen. If prompted, you can either enter the existing Windows 7 product key or choose “I don’t have a key” forcing you to address activation at a later date. Devices with Windows 8 or 10 use embedded keys and you will not be prompted.
Accept the terms and conditions, and select Install Windows. The type of installation will be CUSTOM. This will allow you to remove any existing partitions on the SSD, and ensure a clean installation to a single, unused volume. Windows will automatically make any needed system partitions during installation.


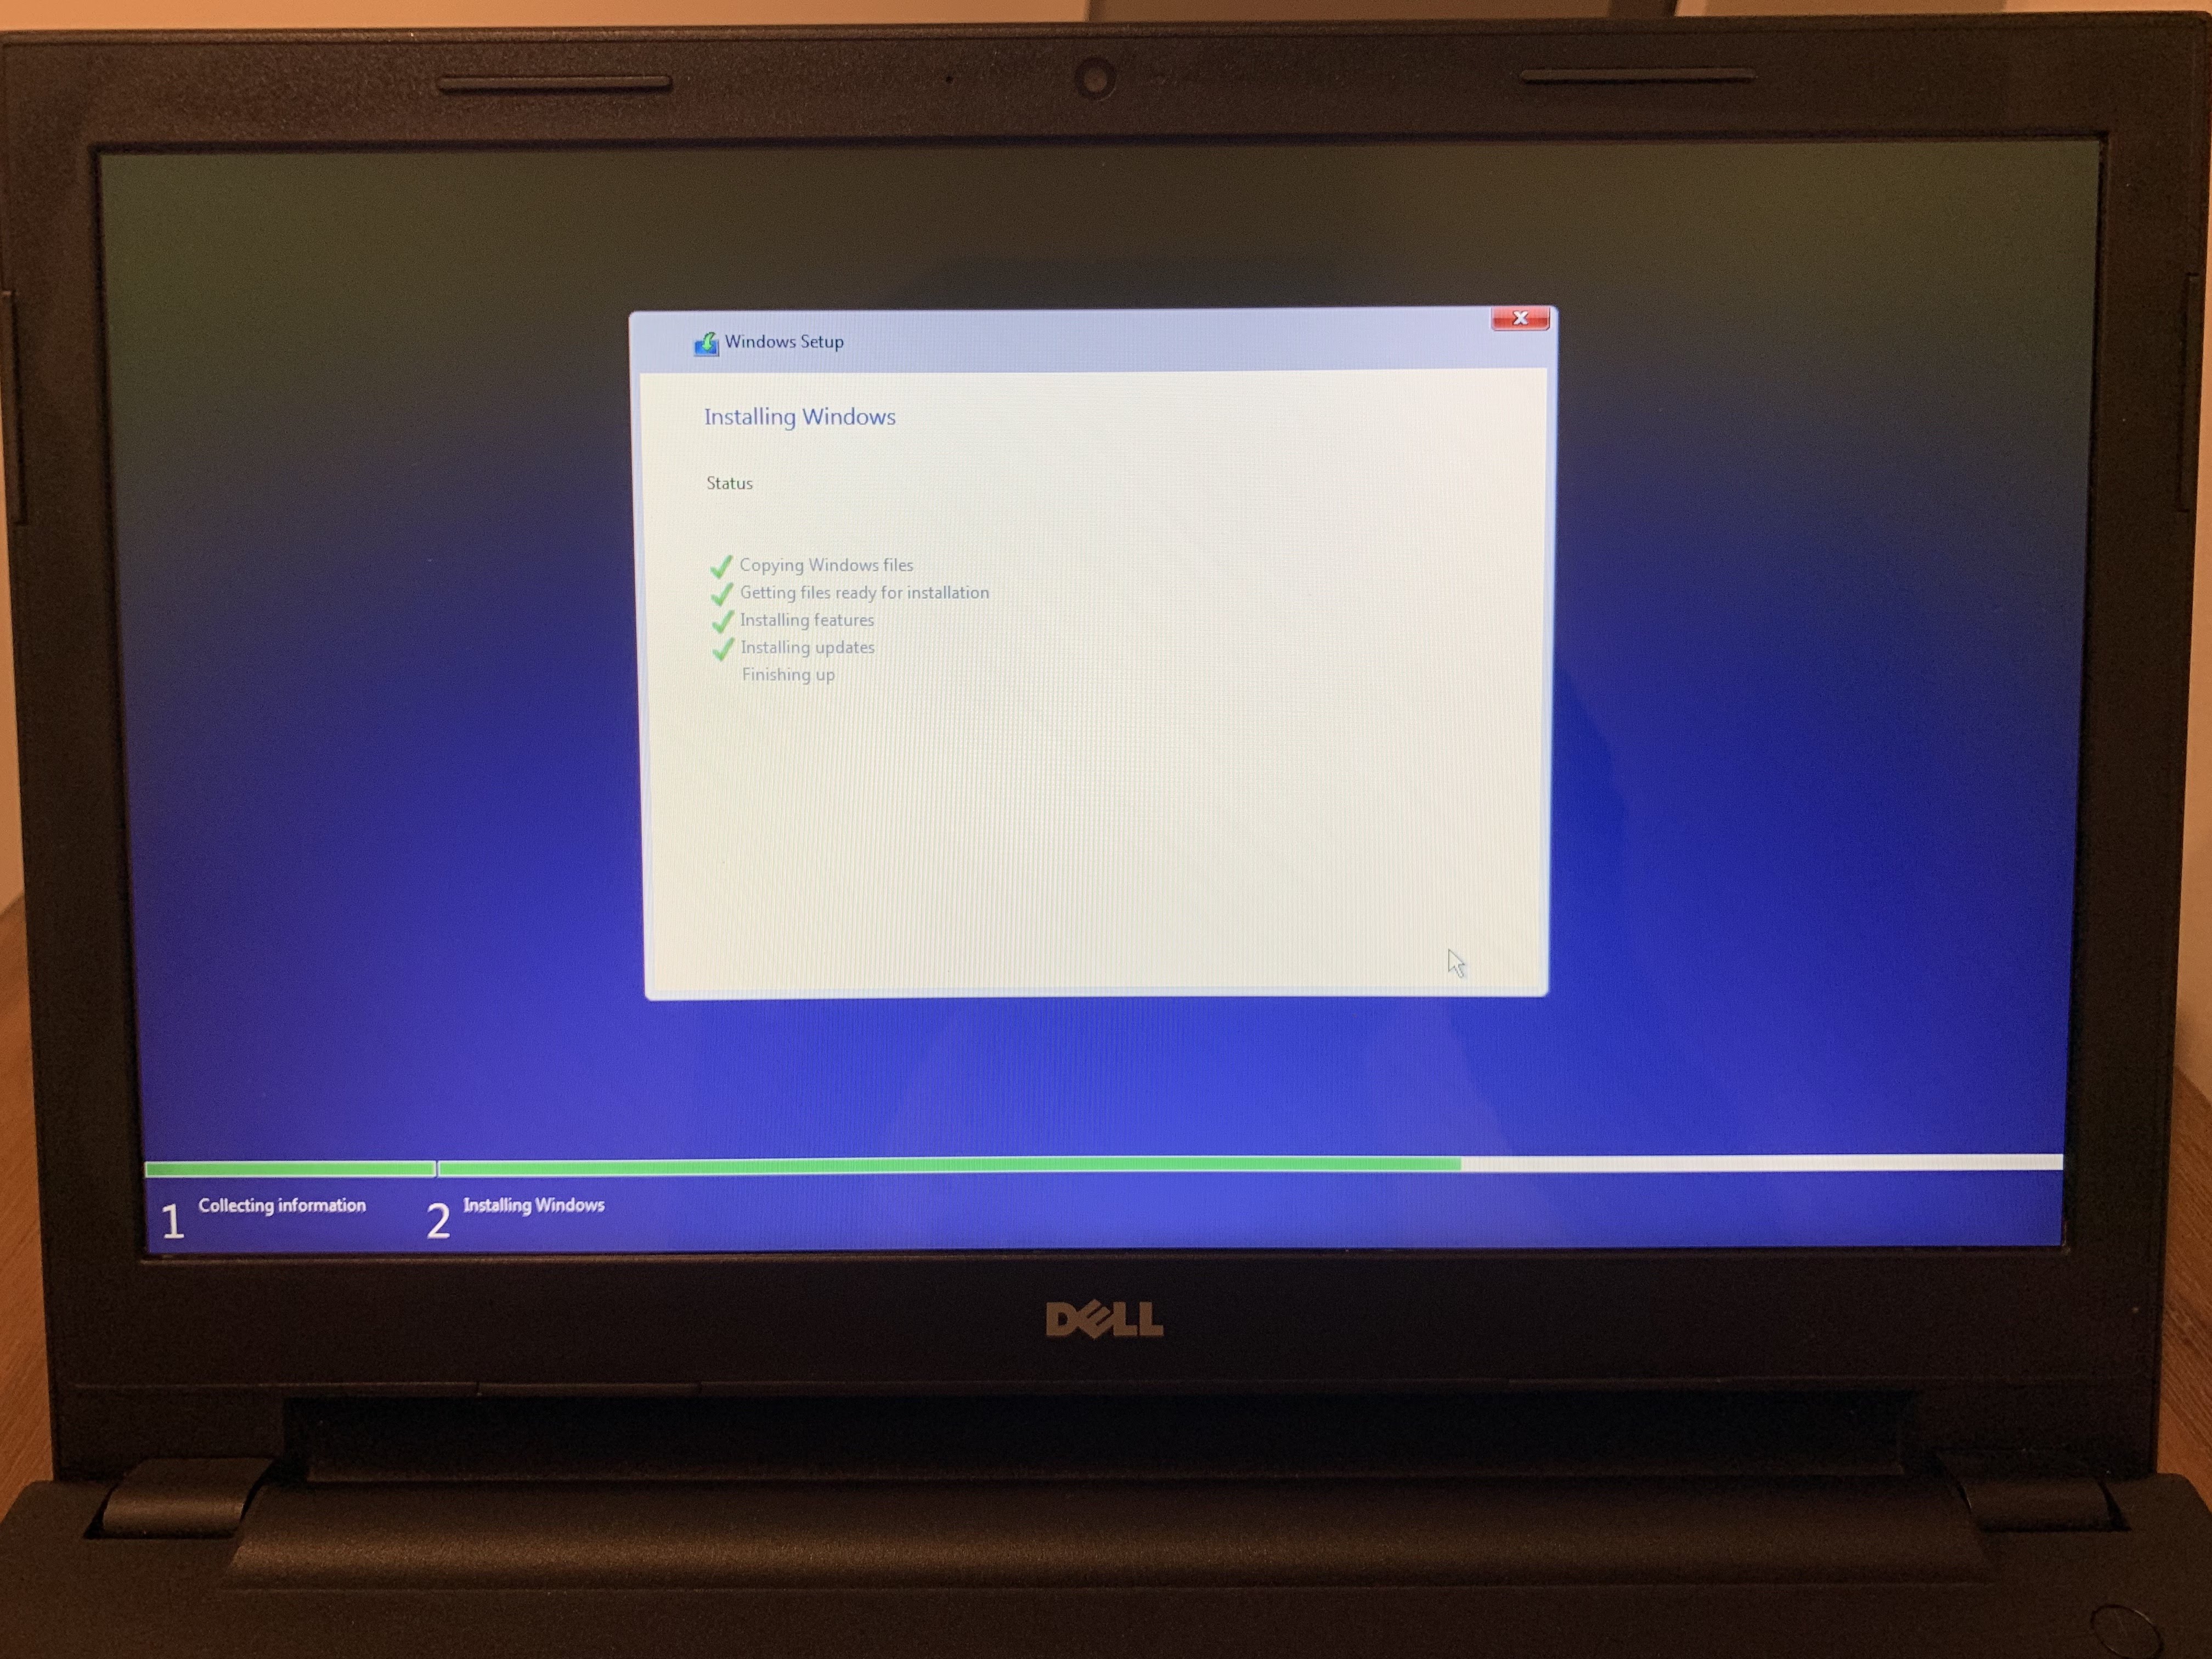
The USB installer can be removed after installation as the PC restarts automatically.
4- Set up Windows 10
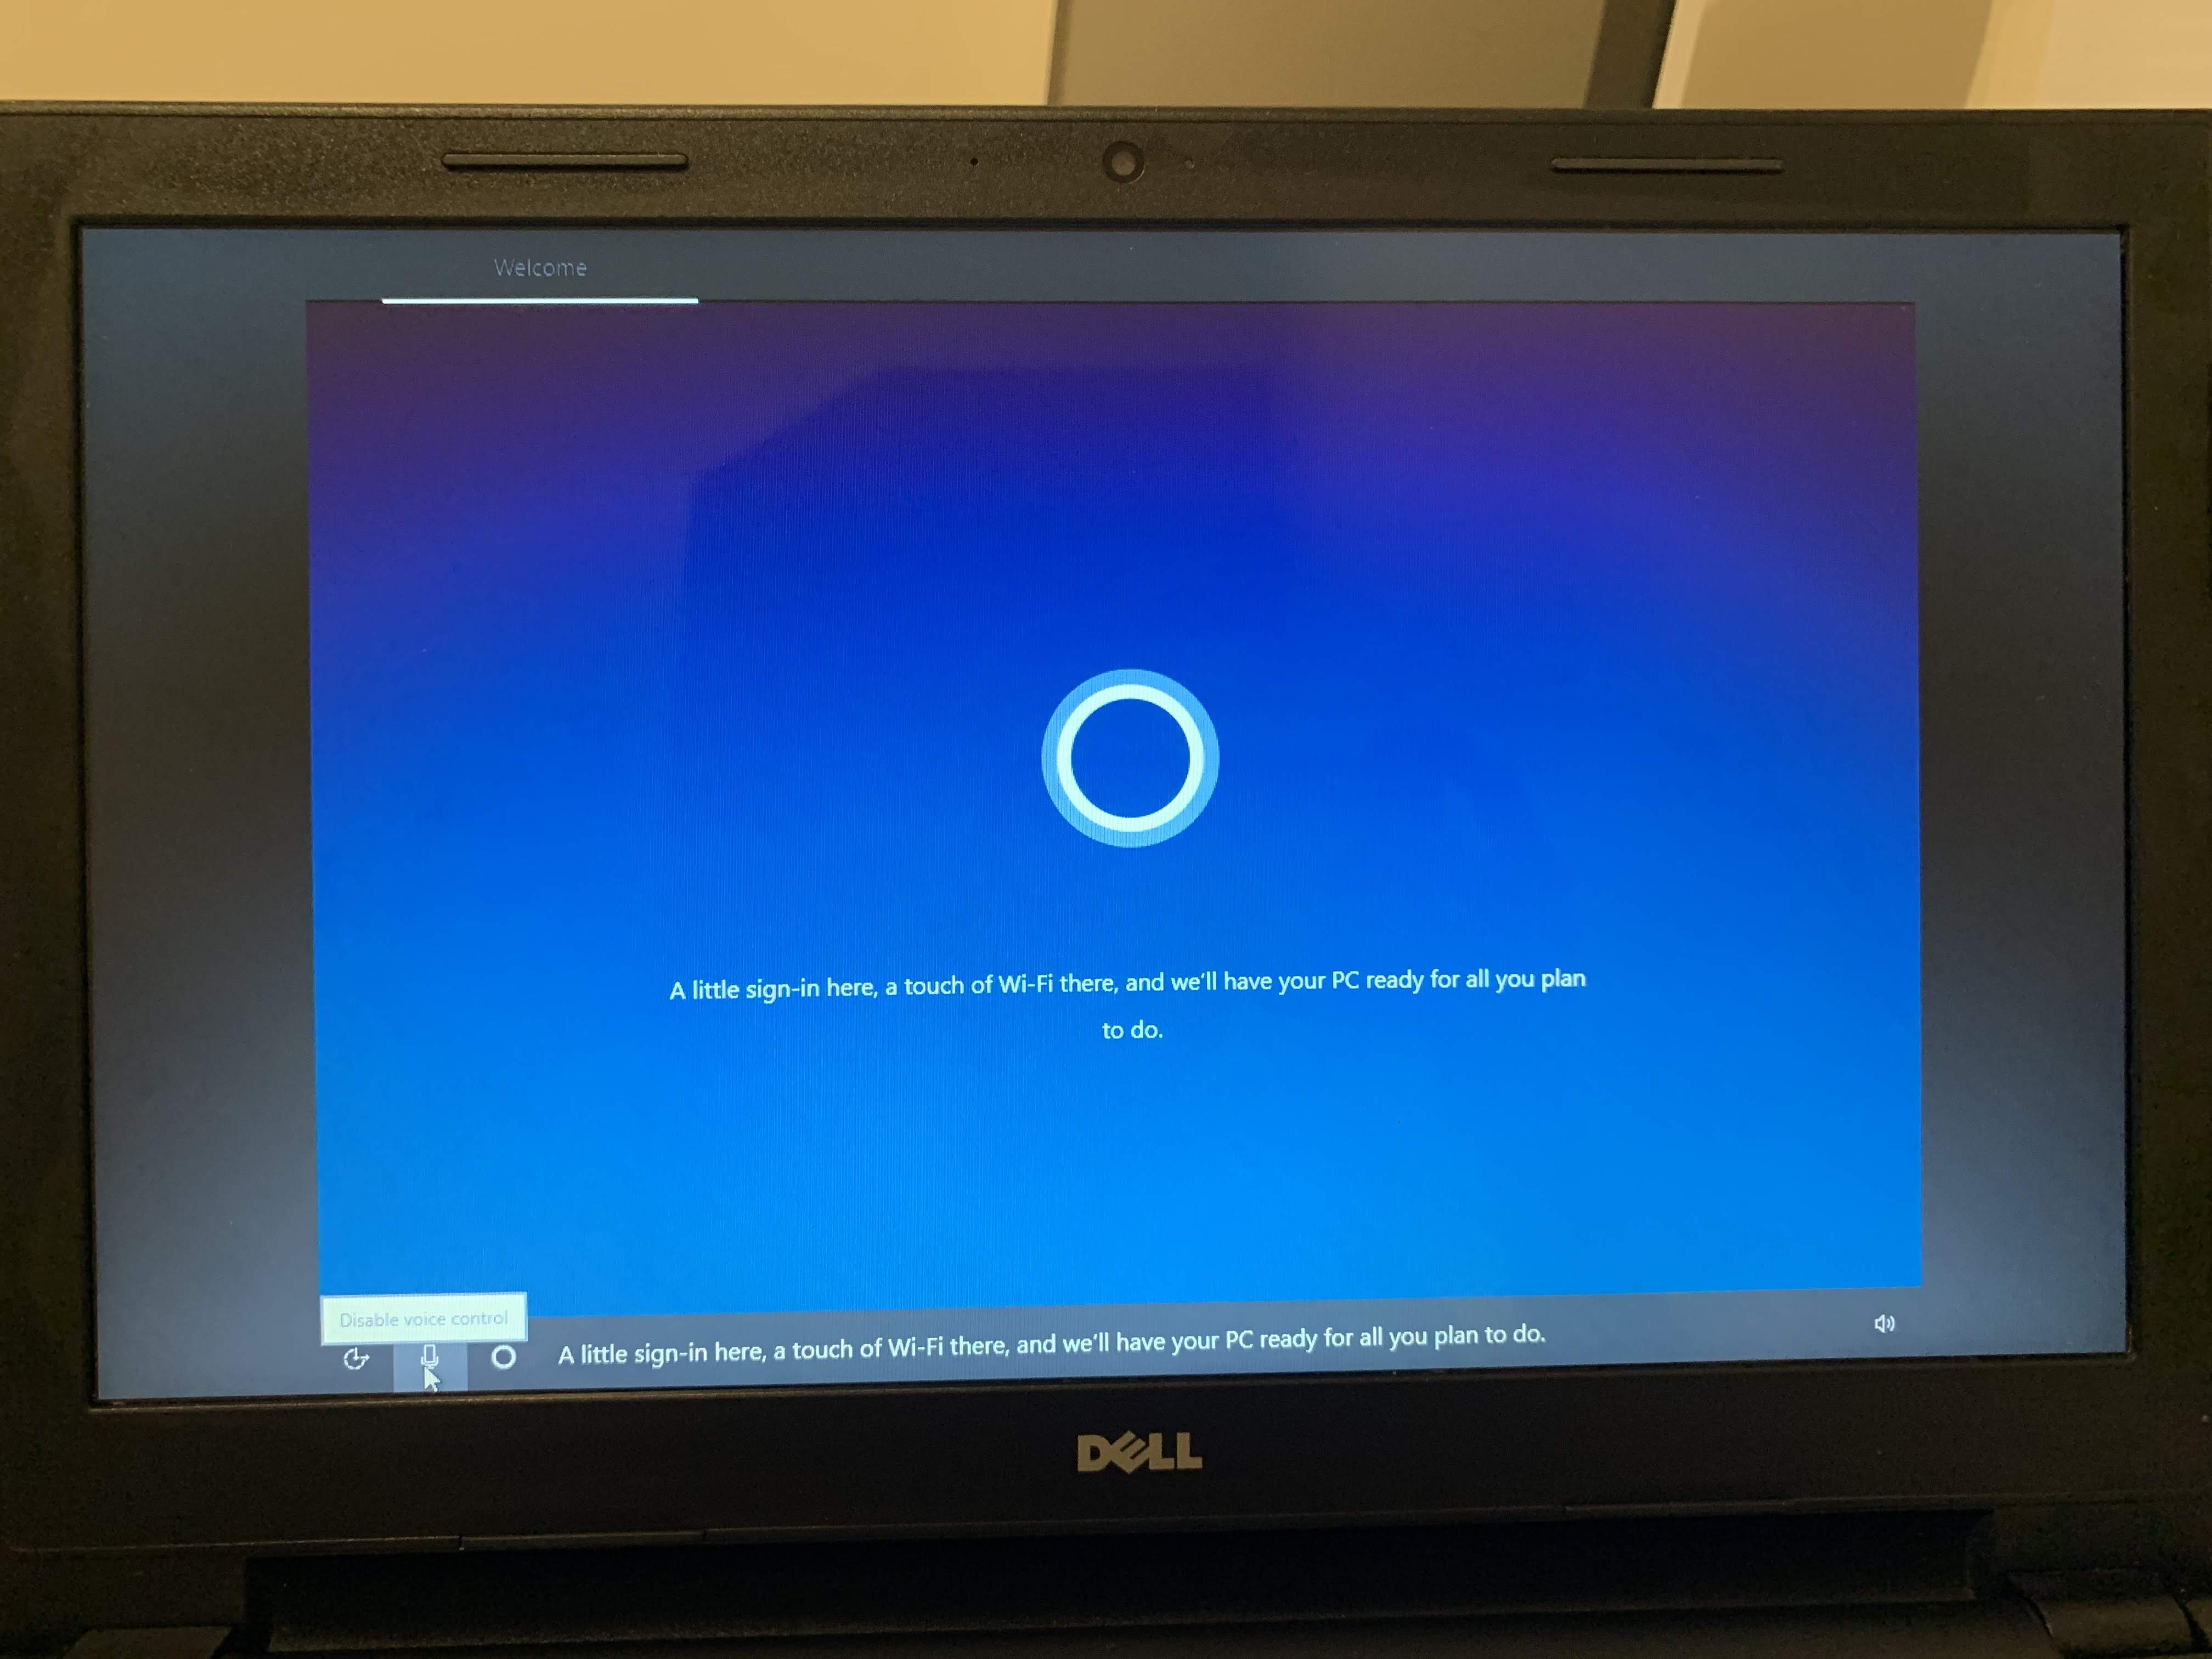
The Windows 10 welcome screen will appear after a rebooting automatically. Feel free to press the microphone icon [bottom left of screen] to silence the Cortana setup voice over. When prompted, enter the WiFi details, accept the default settings.
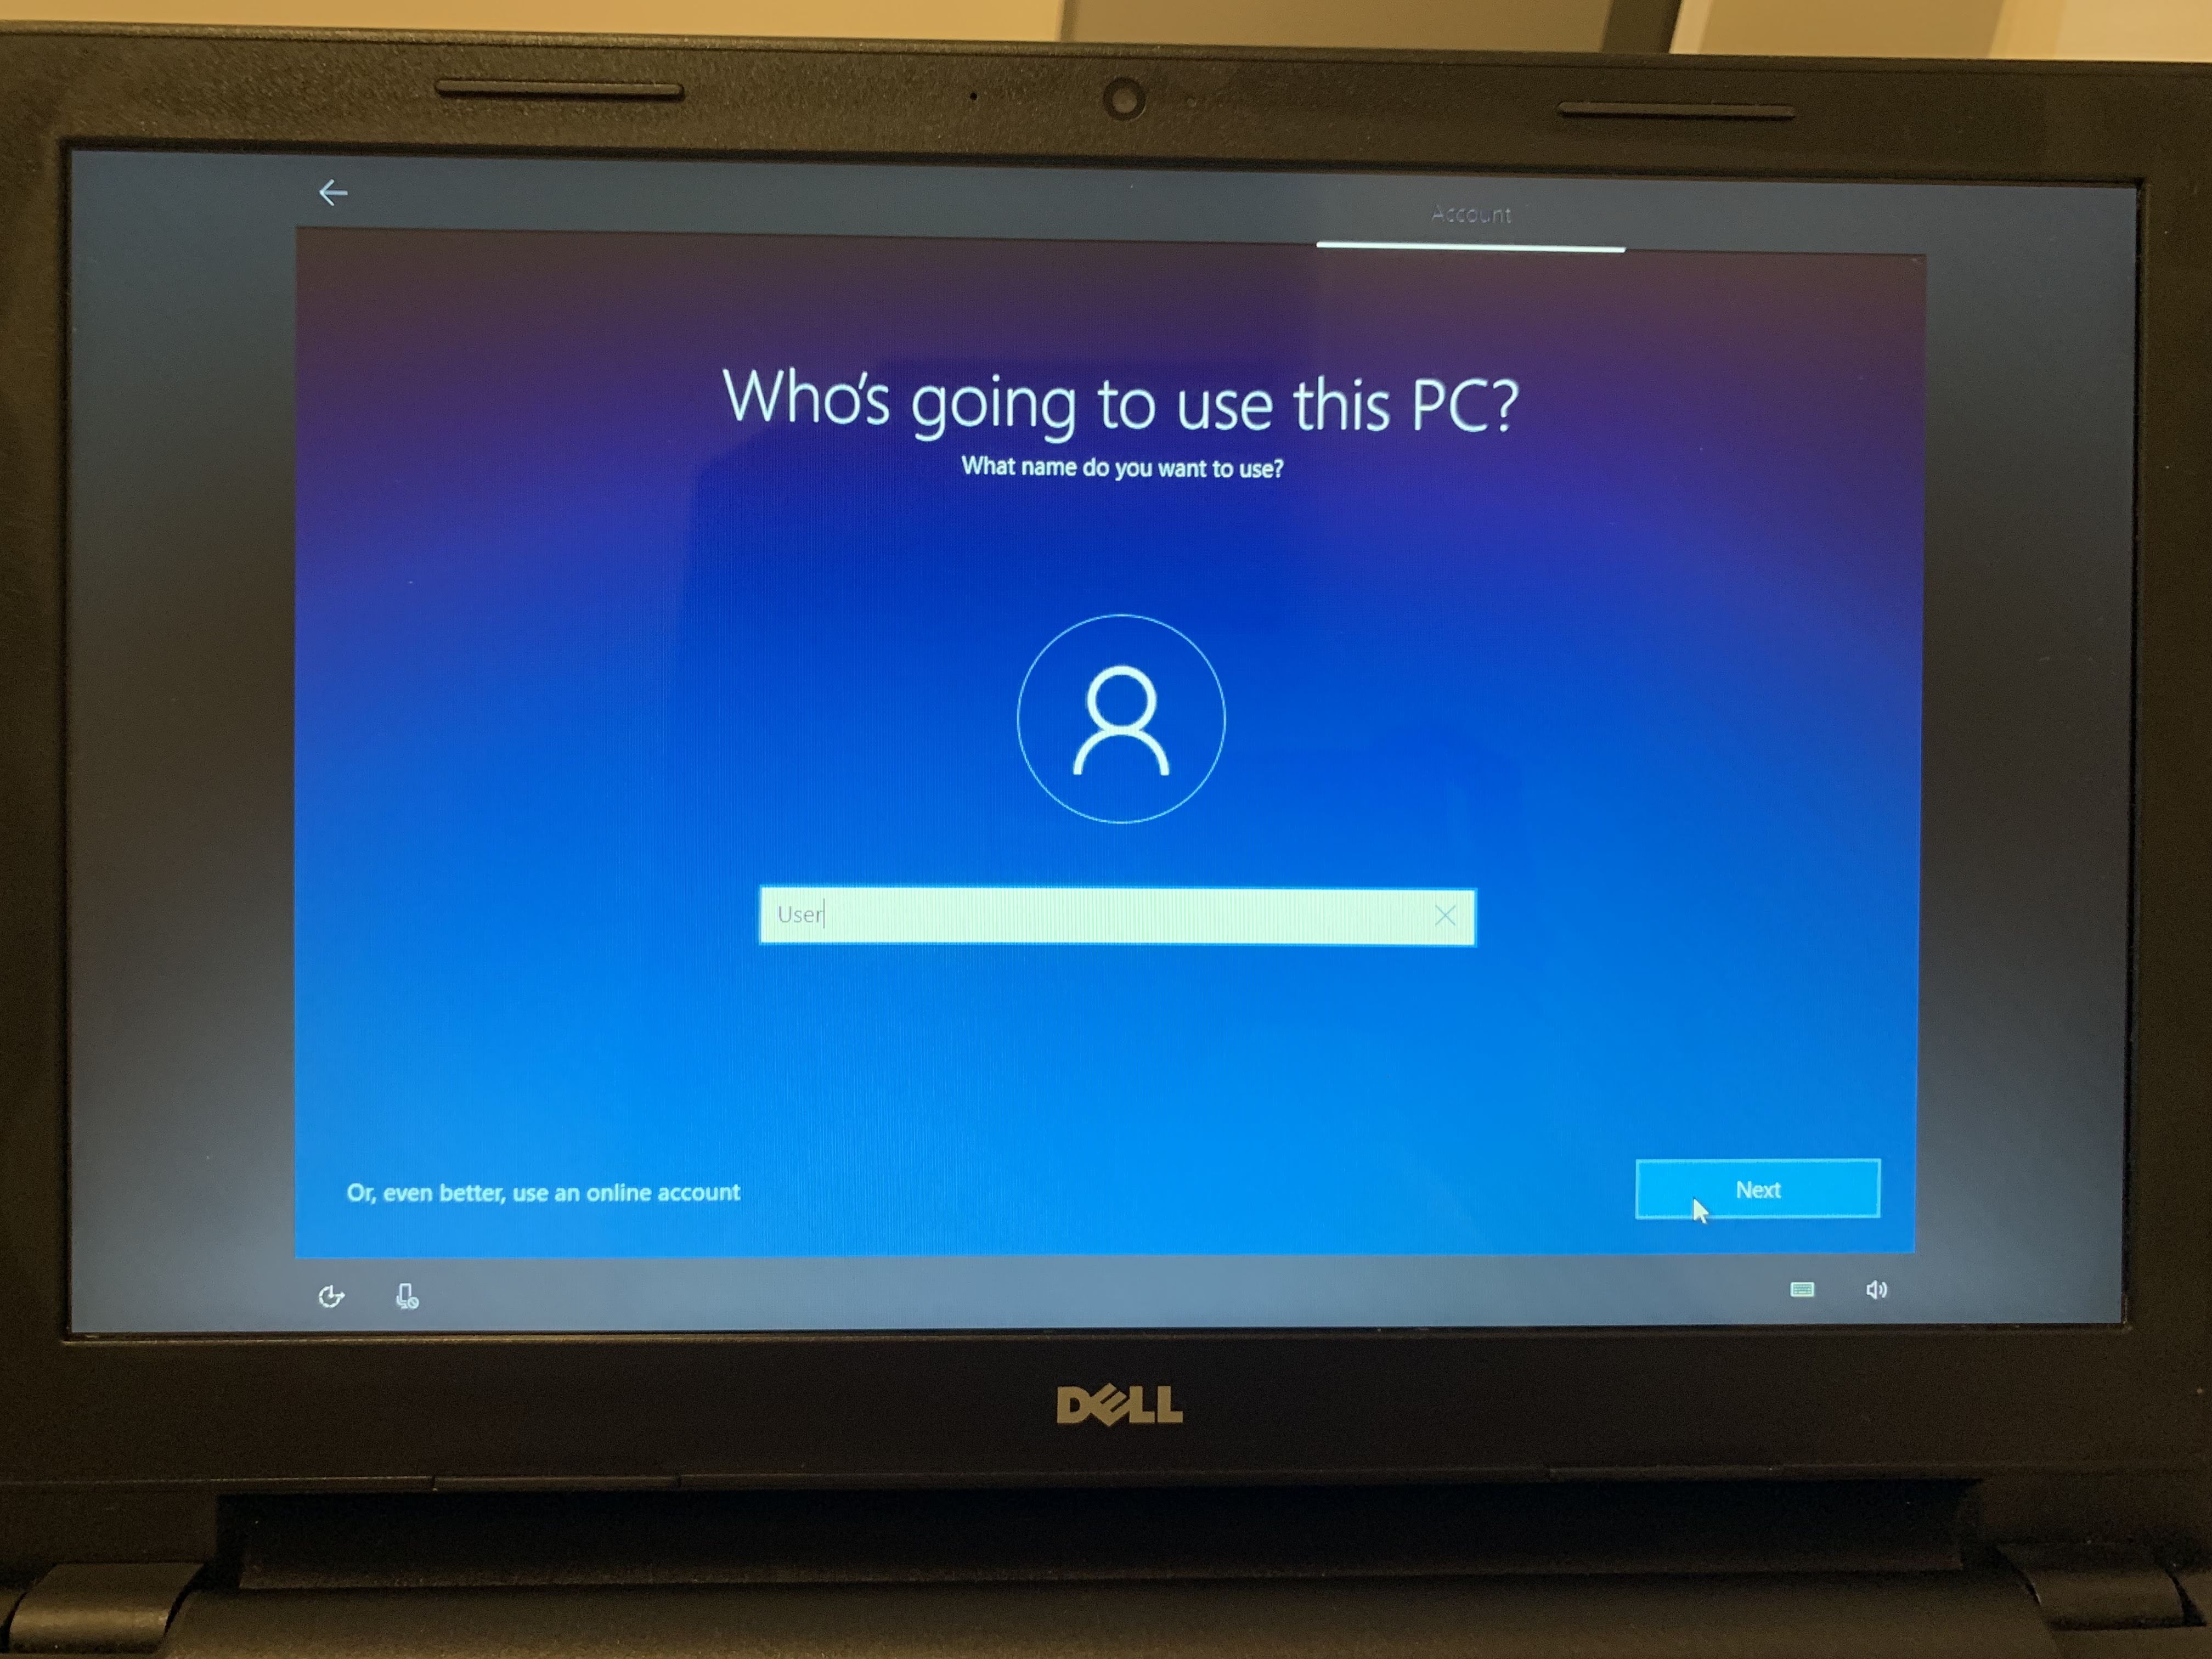
The cleanest installation of Windows 10 begins with an OFFLINE ACCOUNT. This avoids possible OneDrive user folder duplication, and gives you the cleanest registry structure. I always choose an OFFLINE ACCOUNT, with the name USER and NO PASSWORD.
The Microsoft account details and password/PIN setup can all be done AFTER Windows 10 has been completely set up. This will give the best long-term experience with your installation.
Allow all of the updates to occur, and Windows 10 will load to the desktop.
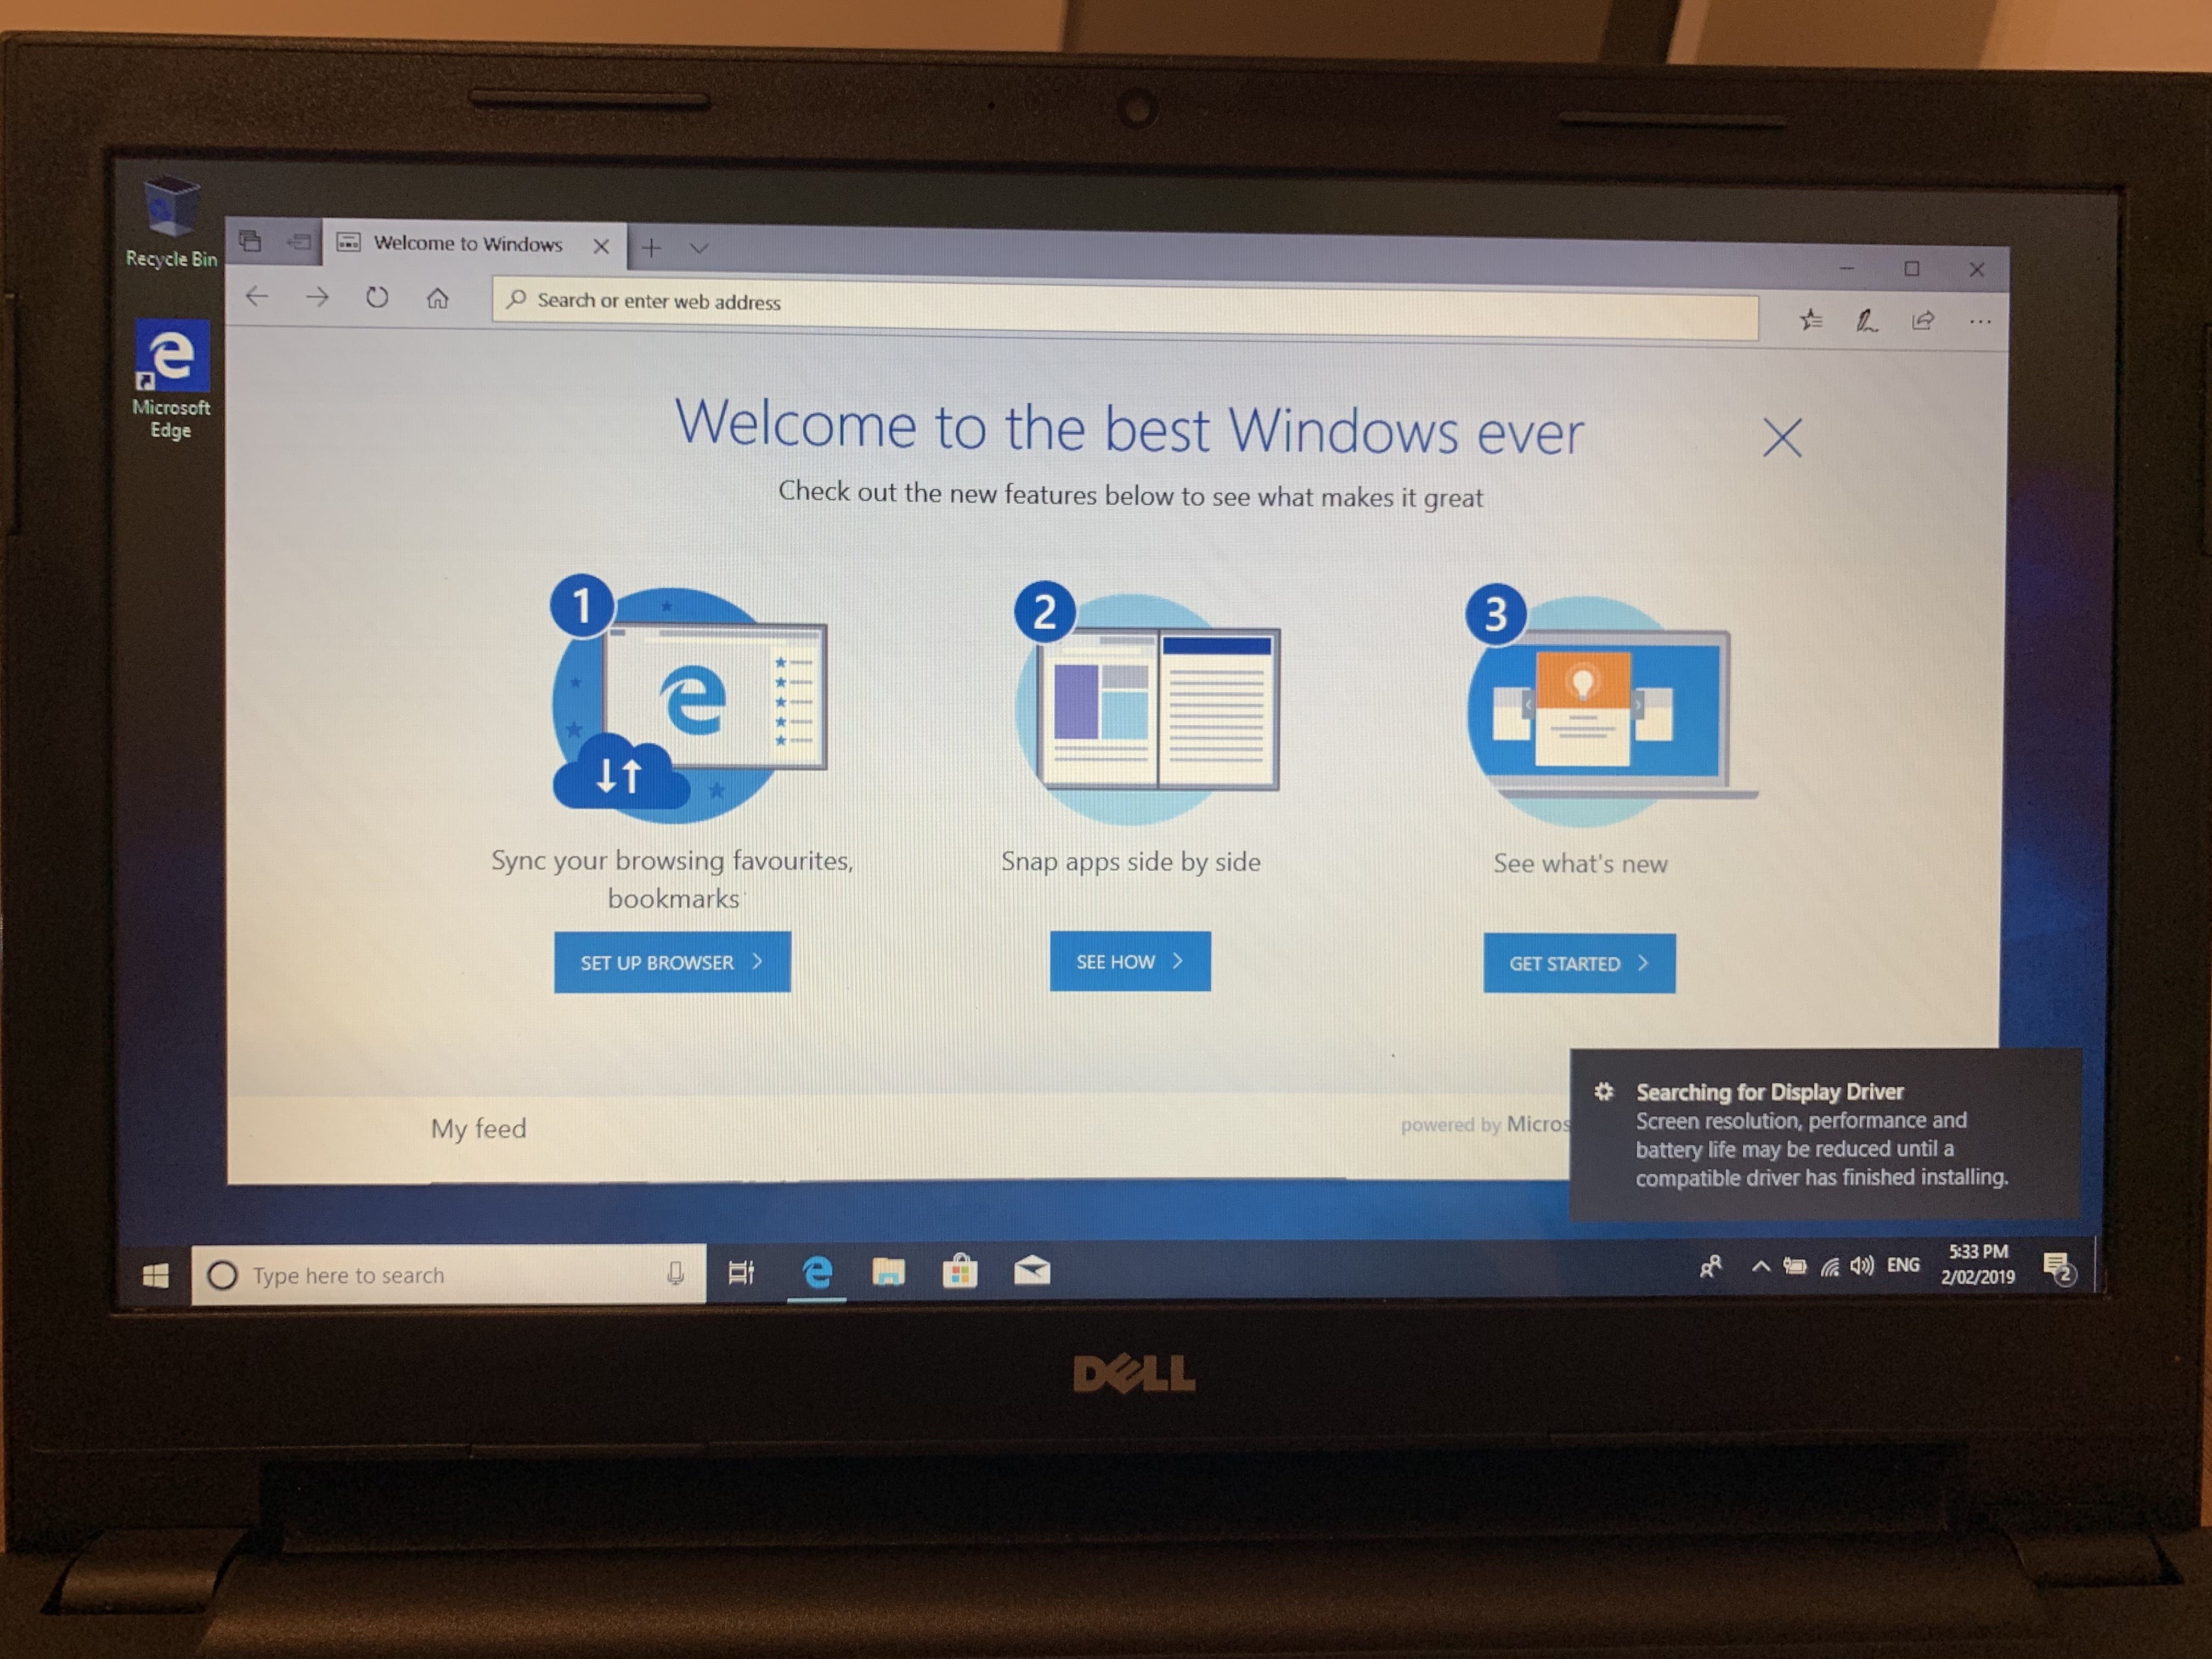
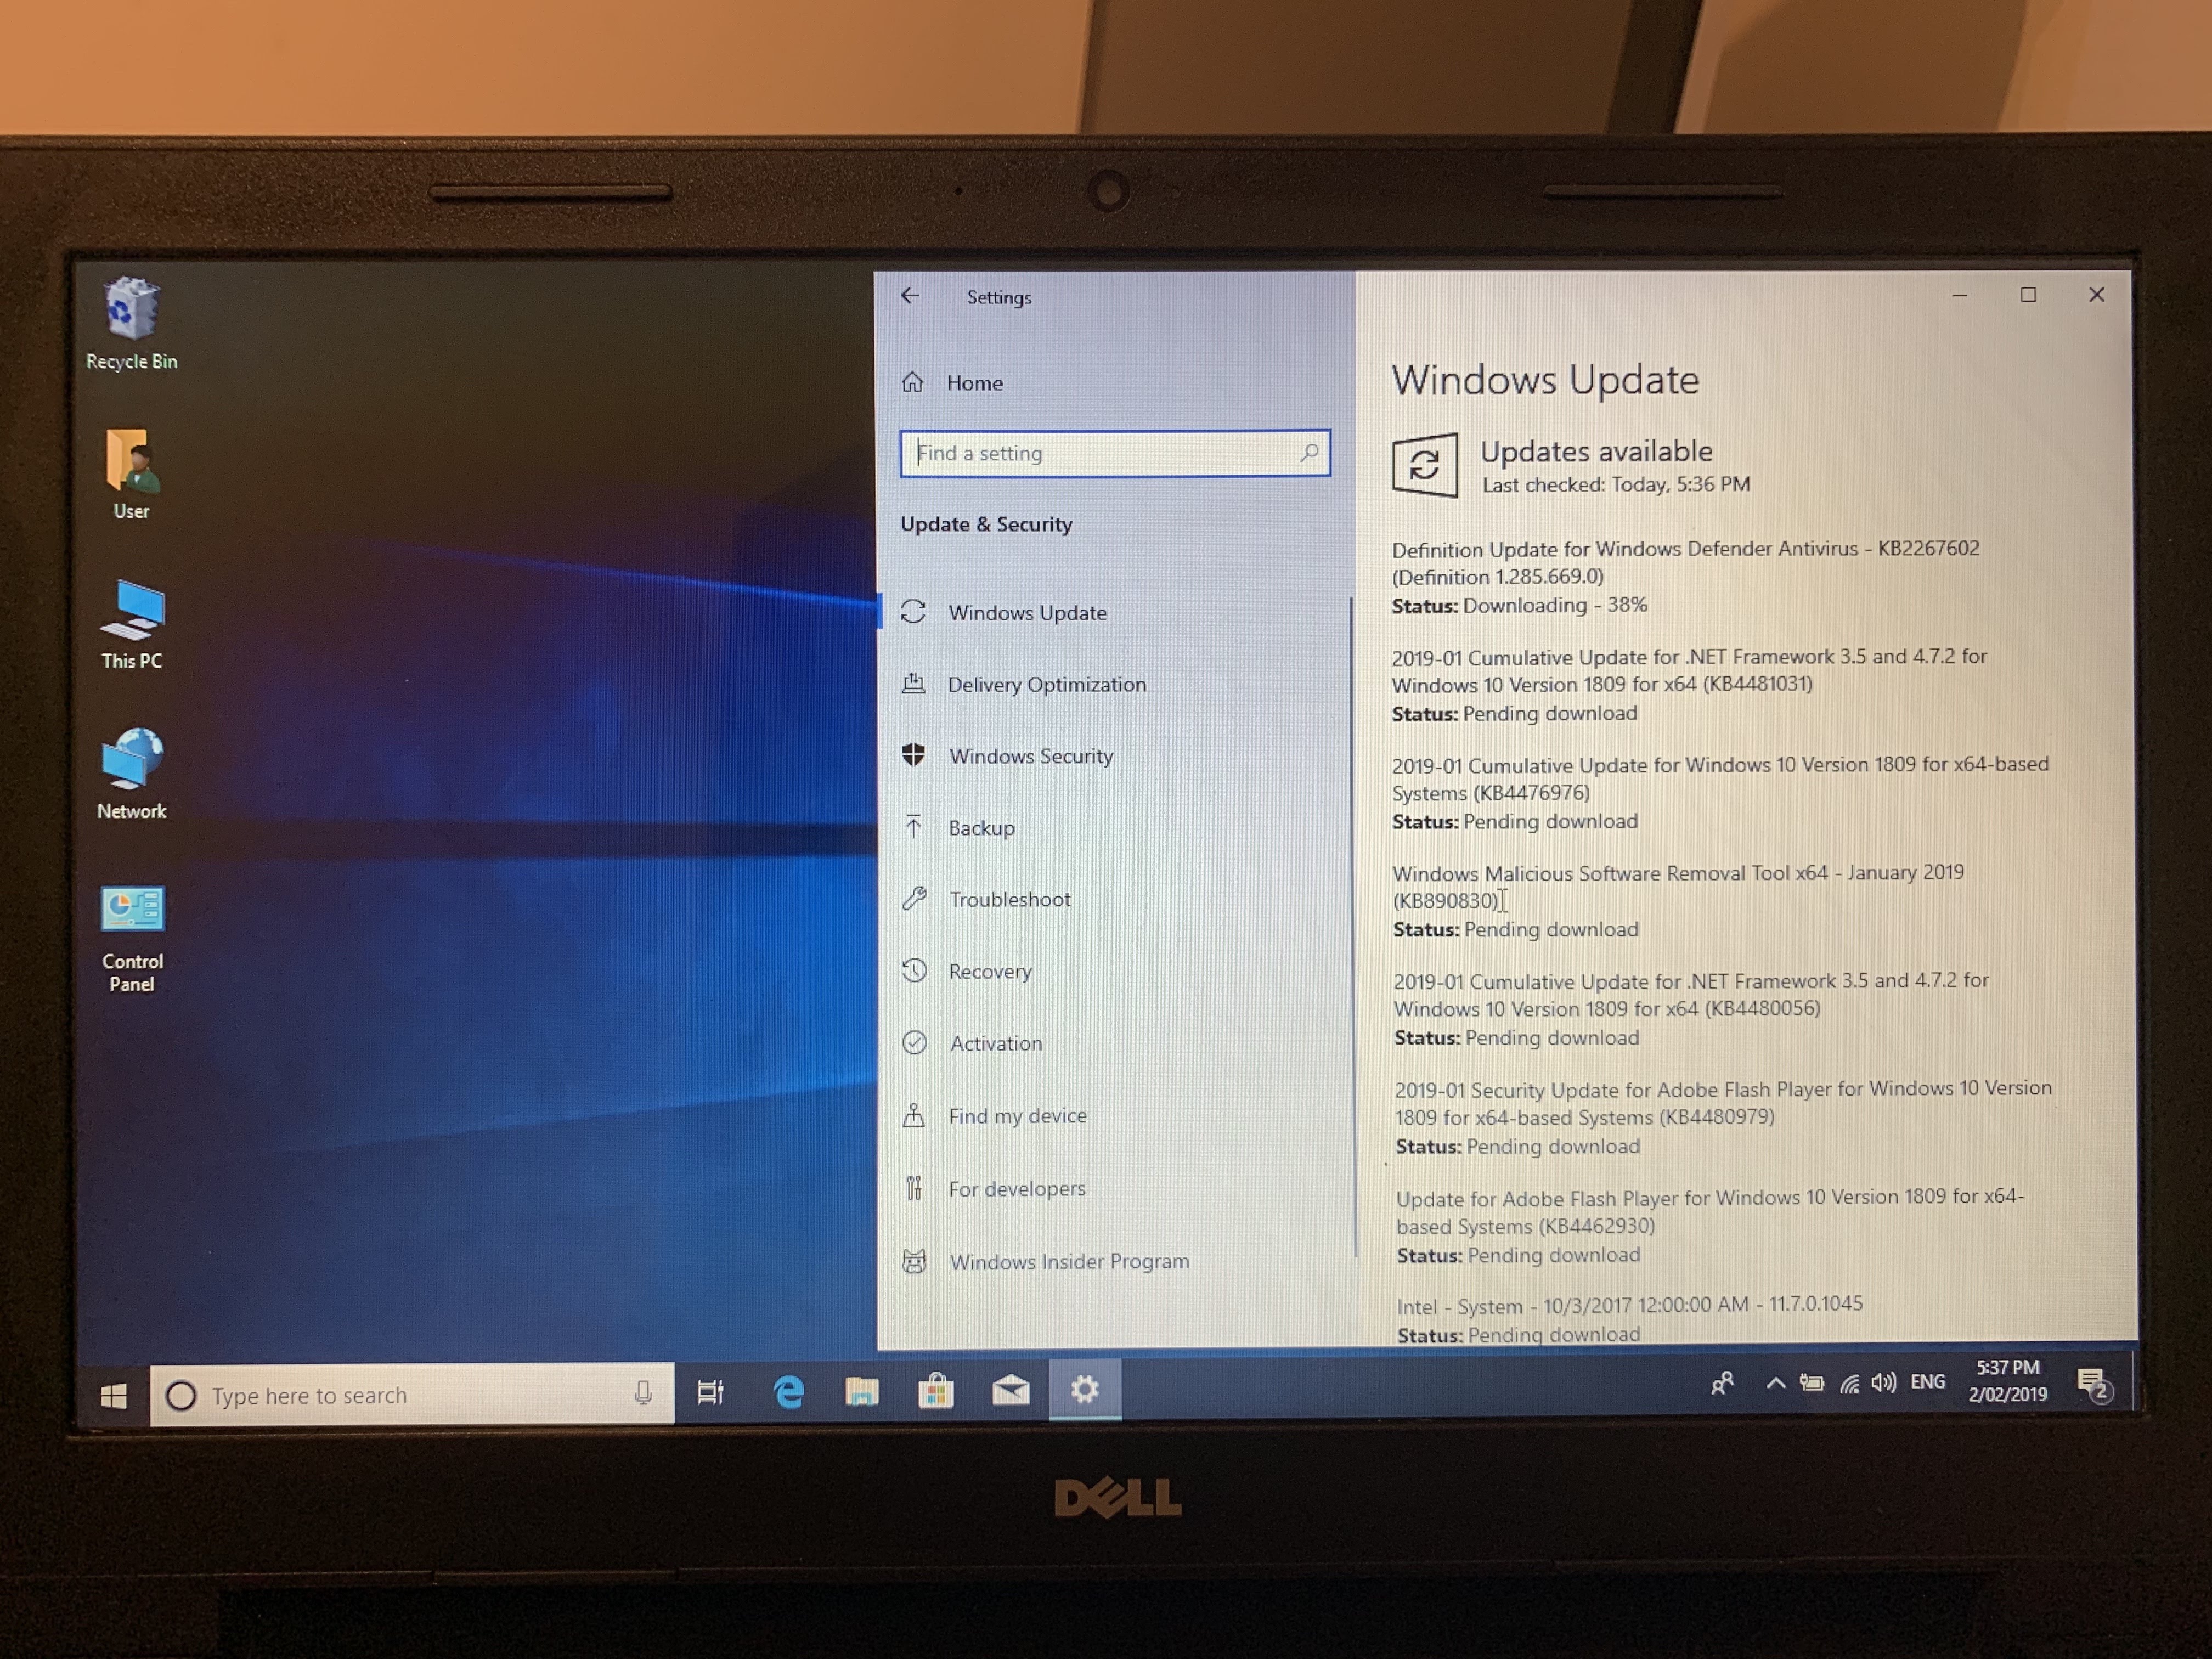
Firstly, go to Windows Update under the Settings screen, and install all available updates. This may require multiple restarts and checks to ensure everything available has been applied. There will be driver updates, system updates, security updates and general Windows updates to be processed, possibly requiring multiple attempts. Press CHECK FOR UPDATES as needed.
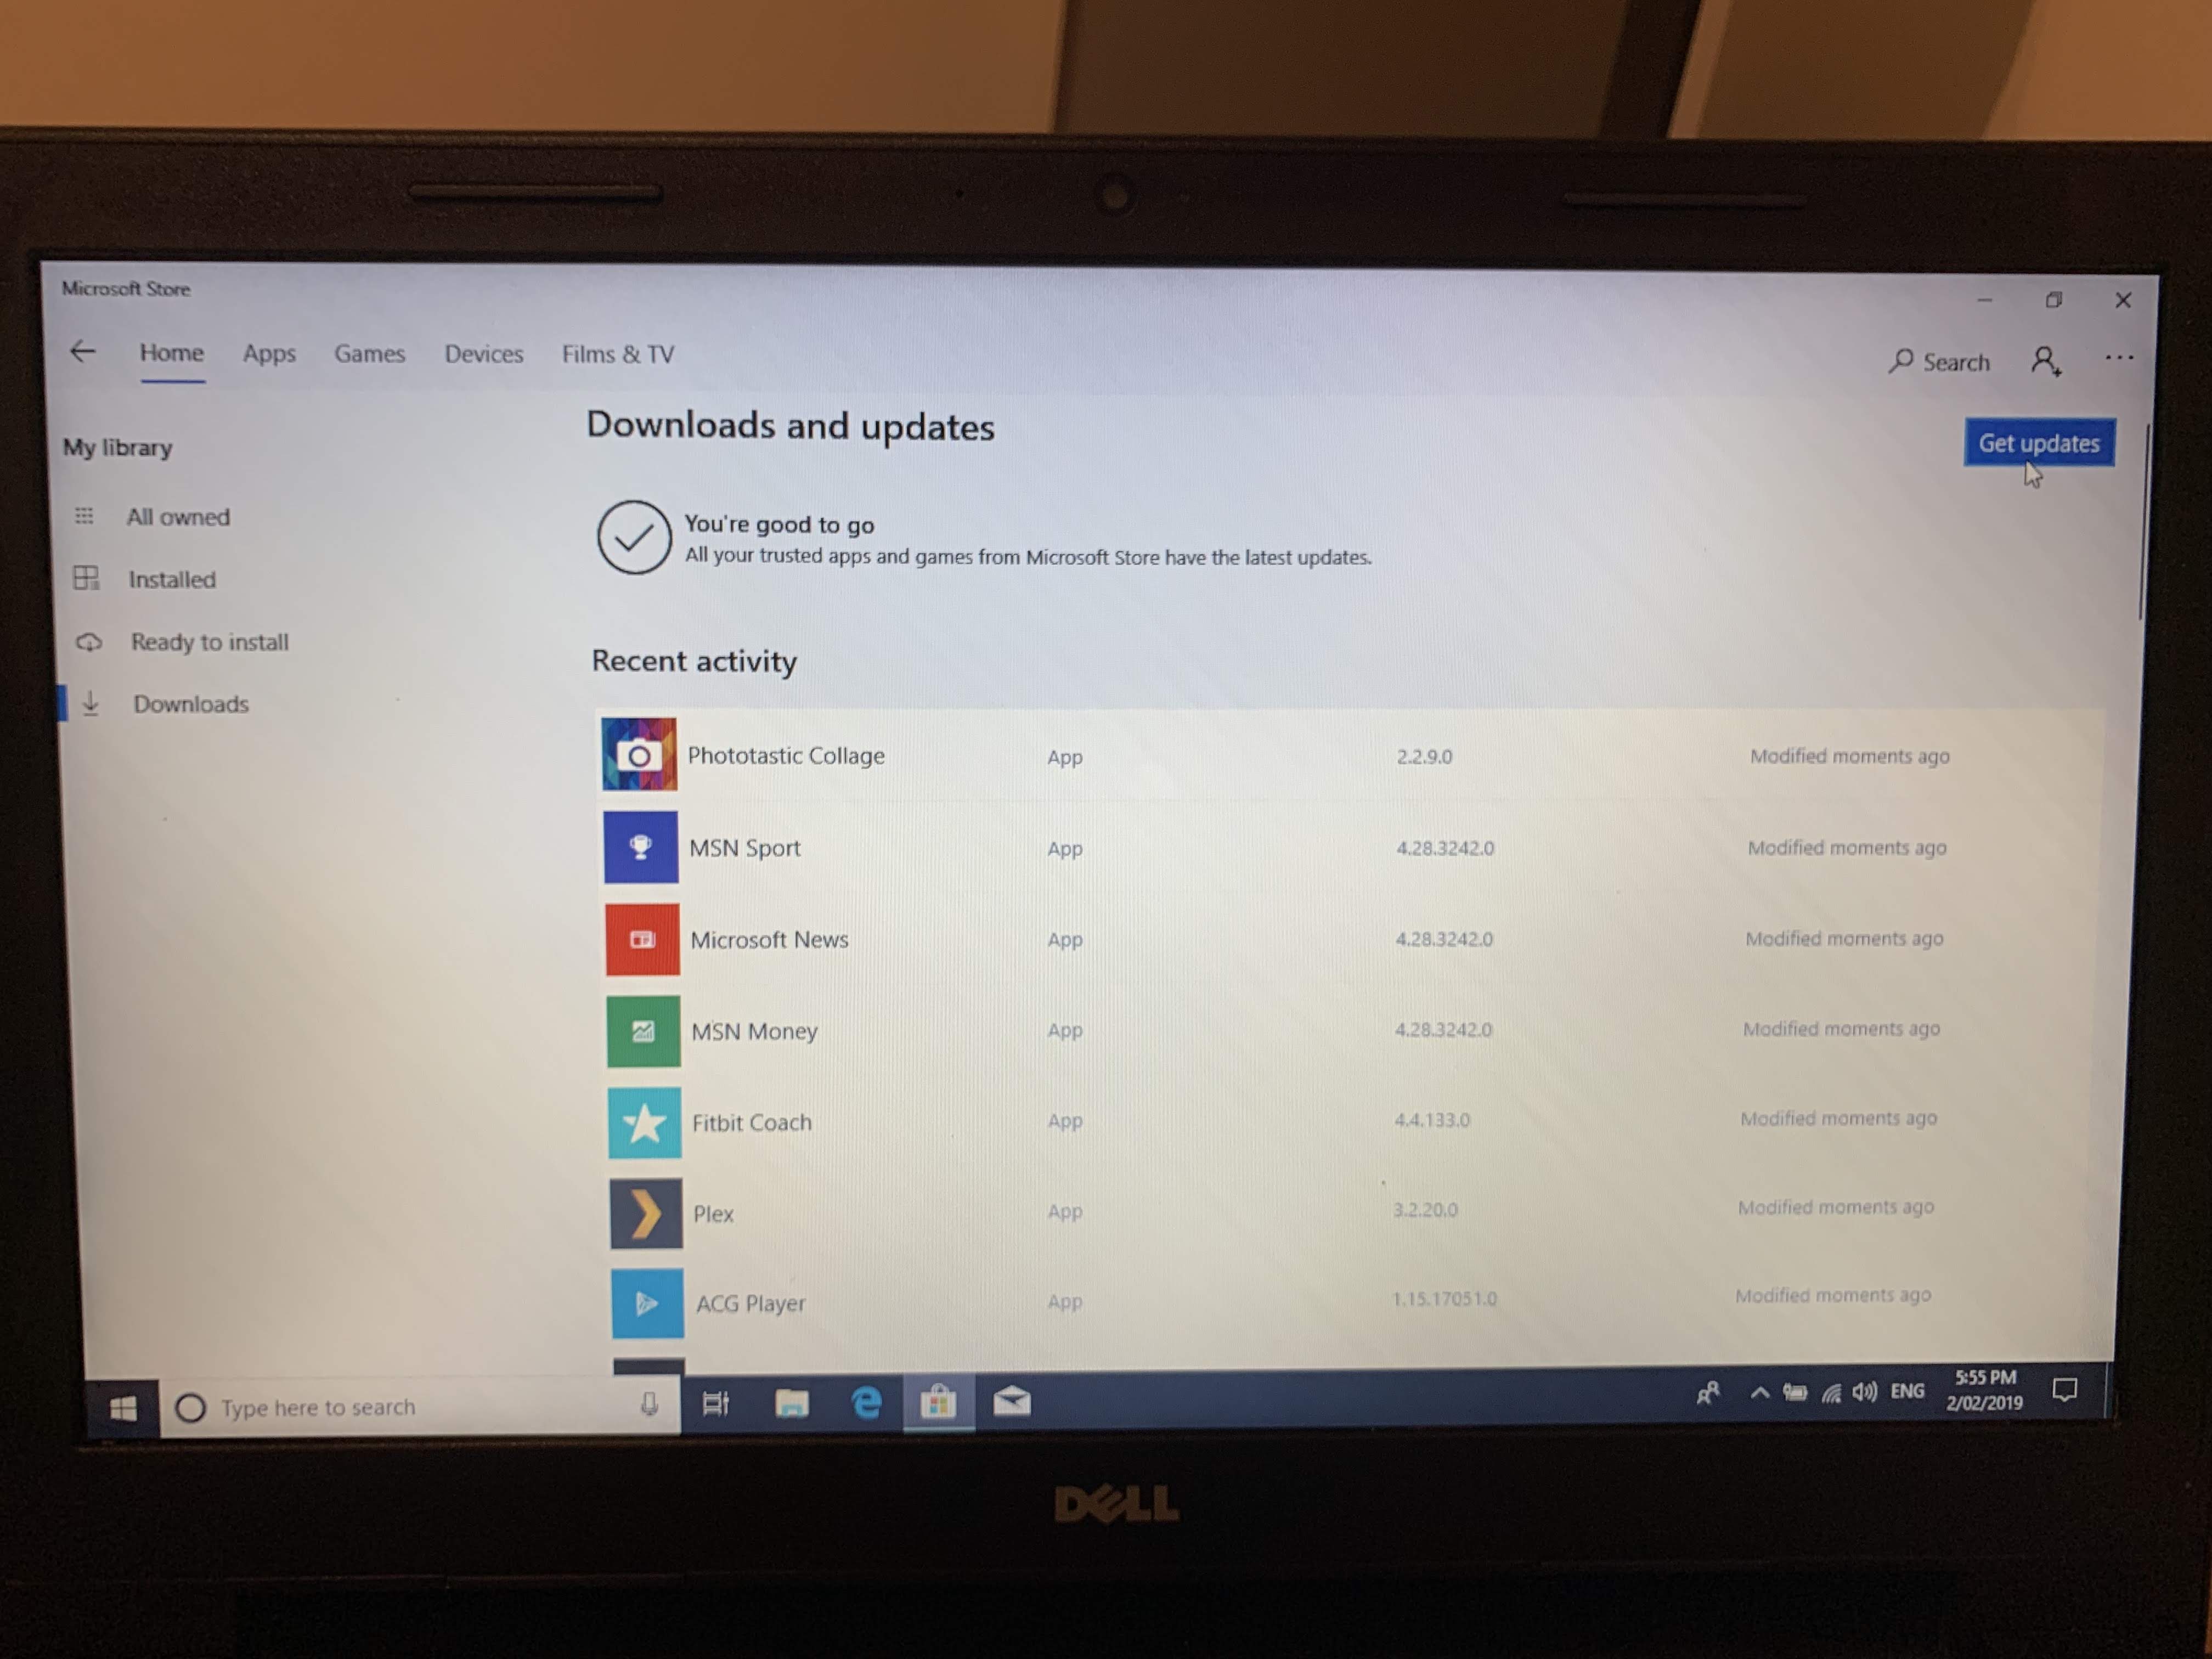
The Microsoft Store can then be visited, and all available updates can be installed to your included Start menu apps then need to be processed. Press GET UPDATES as needed.
5- Copy back your User Files and Folders
Your user data, such as your pictures and documents, will be on the removed HDD. Use a SATA-USB adaptor, or a drive caddy as pictured, to connect the old HDD to the new laptop.

Double-clicking the user folder on the old drive to access your data will prompt Windows to take ownership of the folder. This may take some time, but is necessary to allow the new installation of Windows to open the old user data folder.

Take time to copy the data from Documents, Downloads, Desktop, Pictures, Music and Video folders to ensure you have all of your files. Match the folders from the old HDD to the new SSD.
When complete, your software including Office, printers and games can then be reinstalled, and you can sign back in with your Microsoft account to set a password/PIN to secure the device.
Remember, only reinstall what you actually need- fast, secure systems are NOT bogged down with unneeded software. This includes third-party security- Windows 10 has a complete security suite built in, and you do NOT need to install anything else to secure yourself.
Enjoy your refreshed device, and get in touch with any questions or comments!
